Solarus 11x13 Gazebo Installation
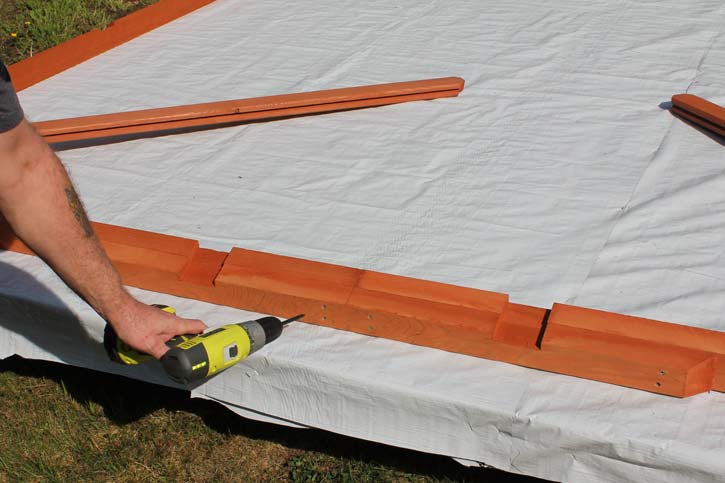
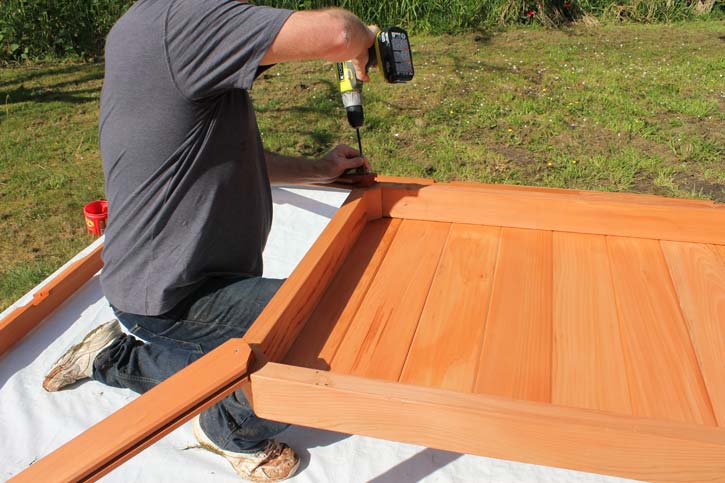
1. Layout and attach the roof headers to on another.
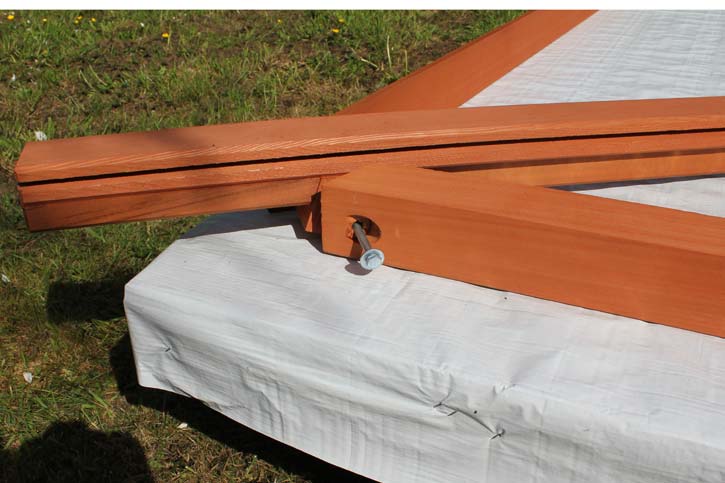
2. Attach the roof headers to the hips with lag bolts provided.
3. Attach all four hips to the roof headers. The lag bolts should be in place but loose.
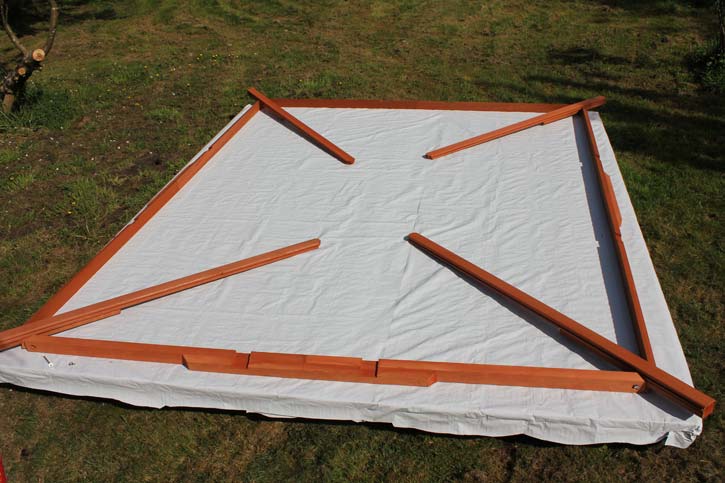
4. Hold the center hub in place and align the hips.
5. Attach the hips to the center hub.
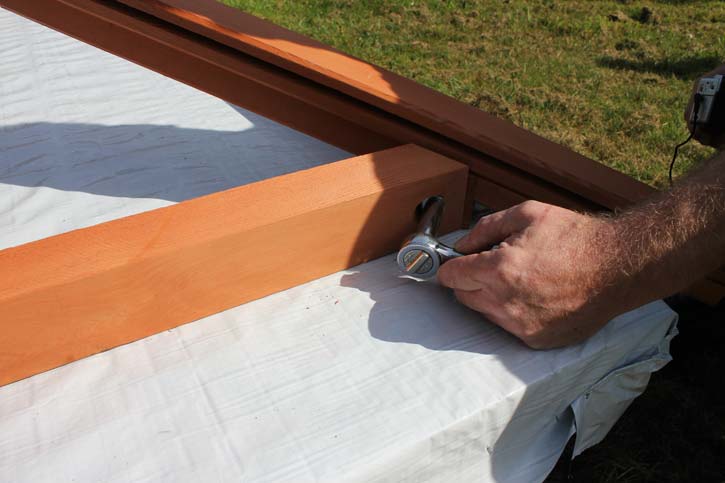
6. Tighten the lag bolts to secure the headers to the hips securely.
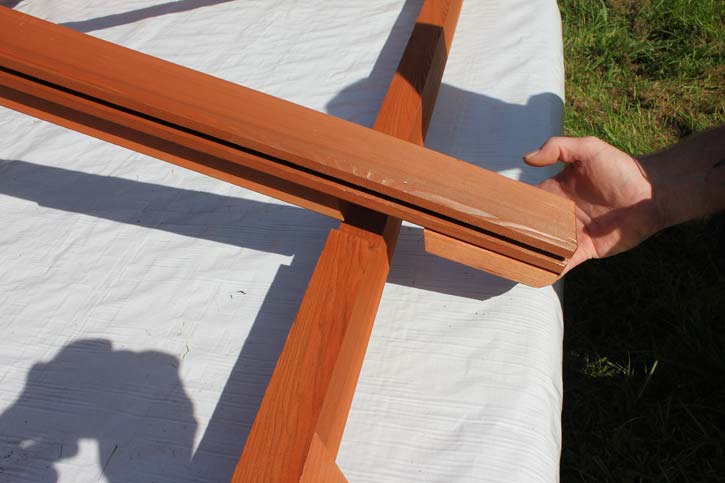
7. Place rafters in the slotted areas.
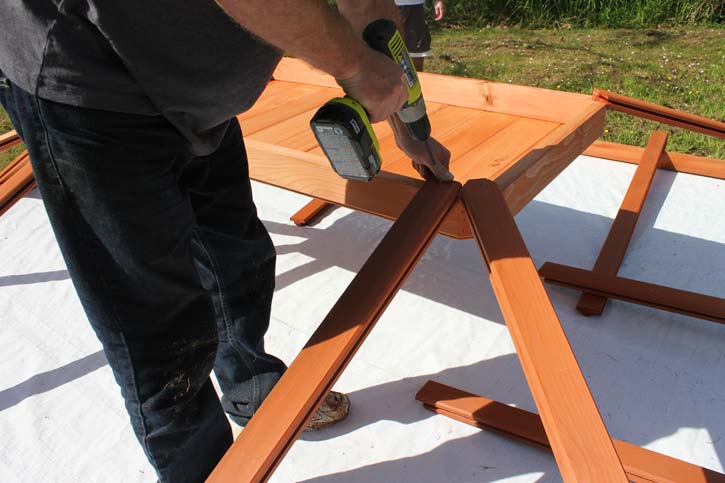
8. Attach each rafter to the hub and to the roof header.
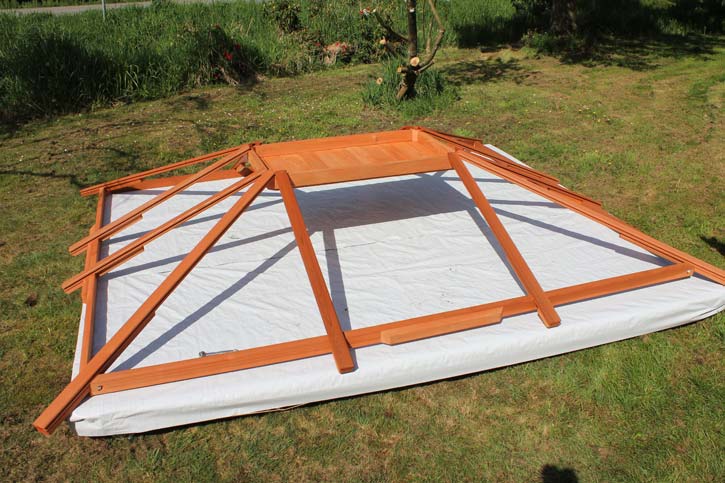
9. Continue until all rafters are installed. The roof frame is now complete.
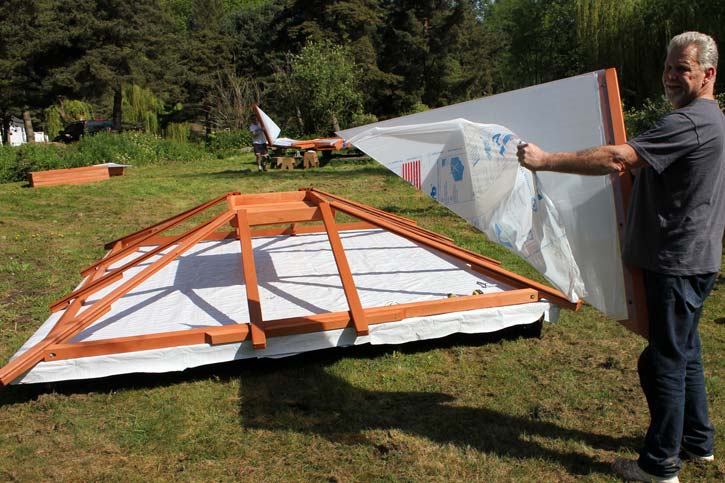
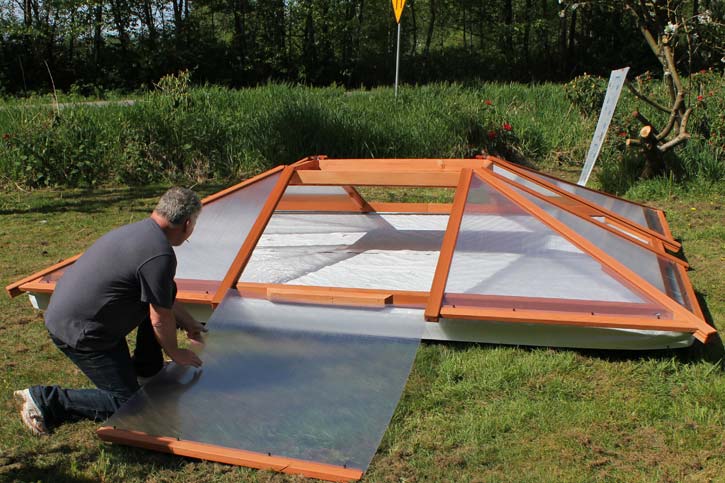
10. Remove the protective cover sheet from each roof panel.
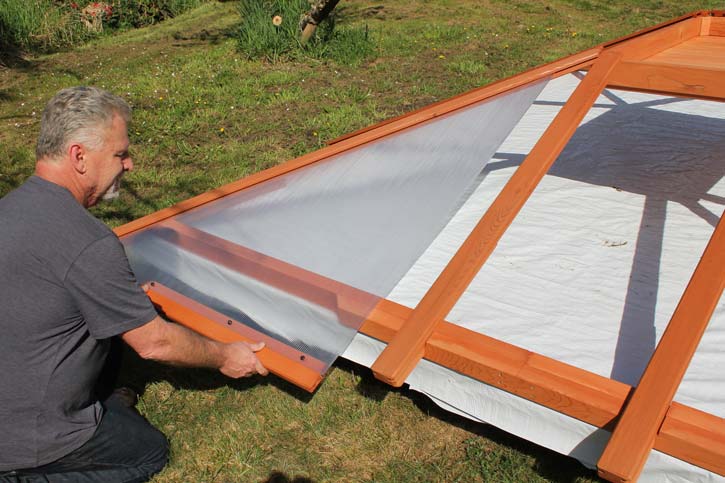
11. Install the roof panels, starting with a corner roof panel. Slide the corner roof panel along the 45 degree dado until it is snug in place in both the dado of the hip and the dado of the rafter.
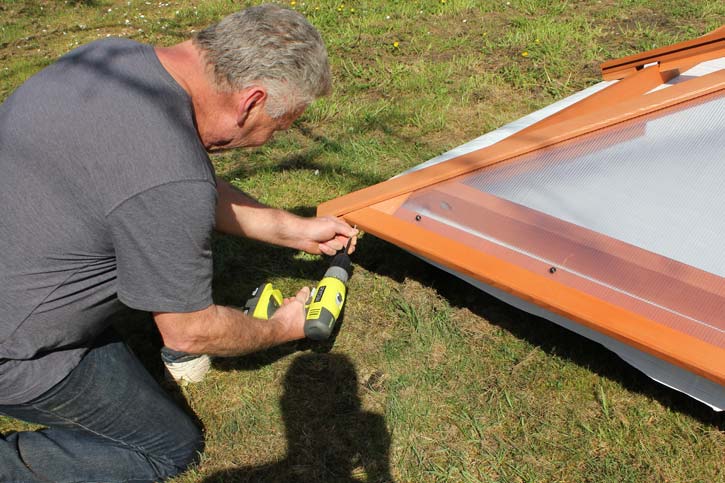
12. Secure each roof panel once you have slid it in place.
13. Once all eight corner roof panels are installed, you can install the two rectangular roof panels.
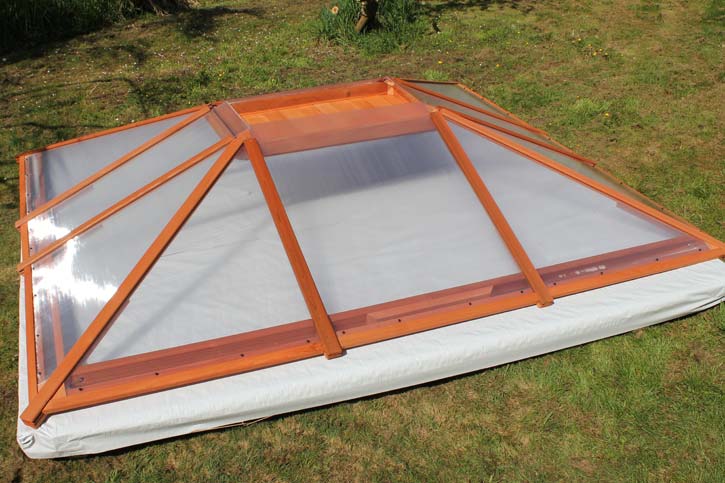
14. Secure all roof panels in place.
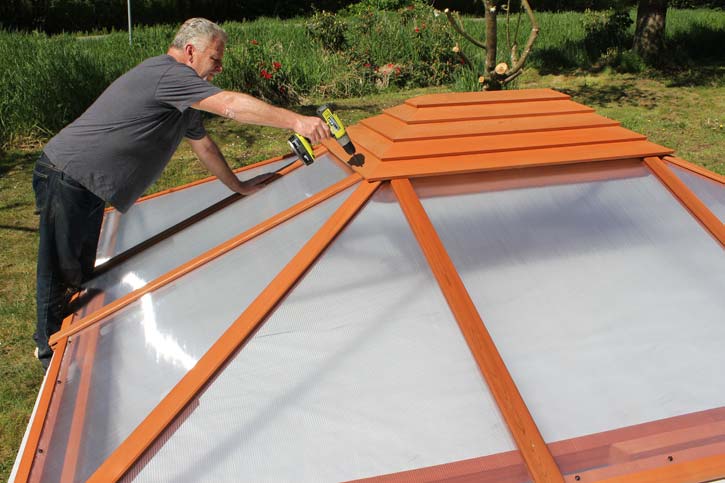
15. Install and secure the center roof cap.
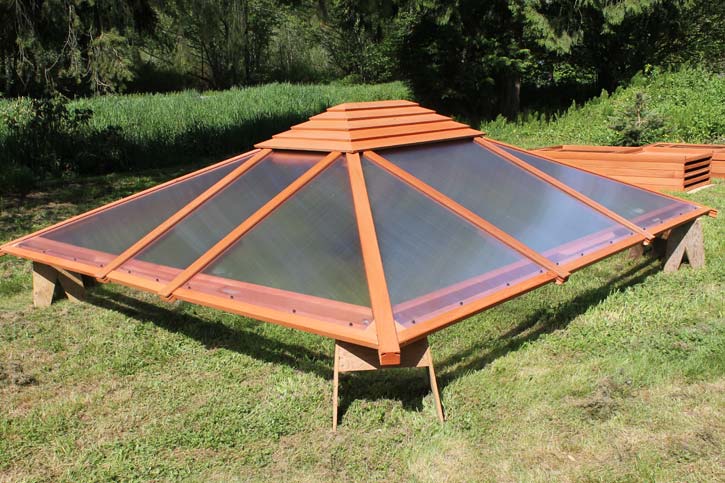
16. The roof is now completely assembled and you can proceed to construct the gazebo body.
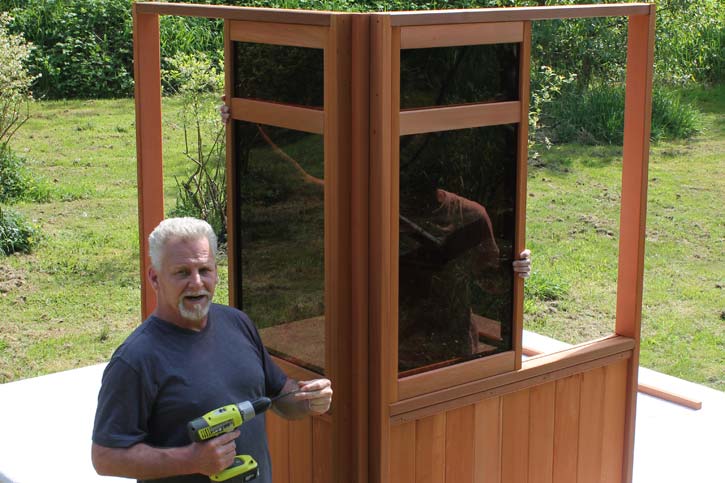
17. Start constructing the gazebo body by attaching two 48 inch wall sections at a 90 degree angle by using the corner 2x2 connector.
18. Continue along the short side of the gazebo and attach a 24 inch wall section and then a 48 inch wall section.
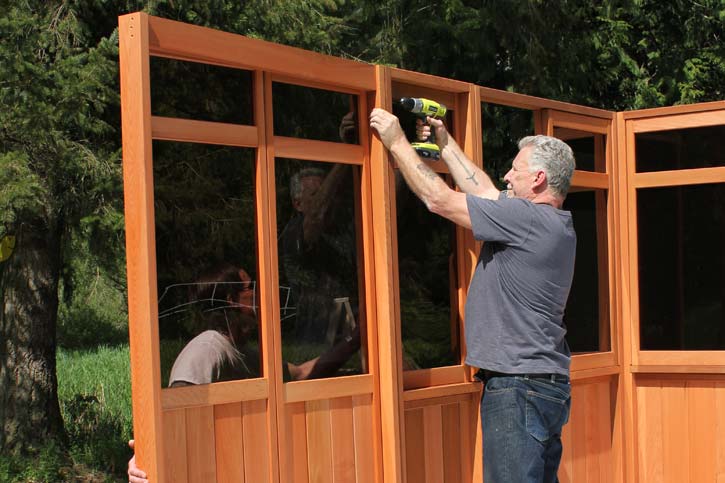
19. Once you have completed the first short side of the gazebo proceed to install the wall sections on the long side of the gazebo.
20. Continue around the gazebo until all wall sections and the door section is installed.
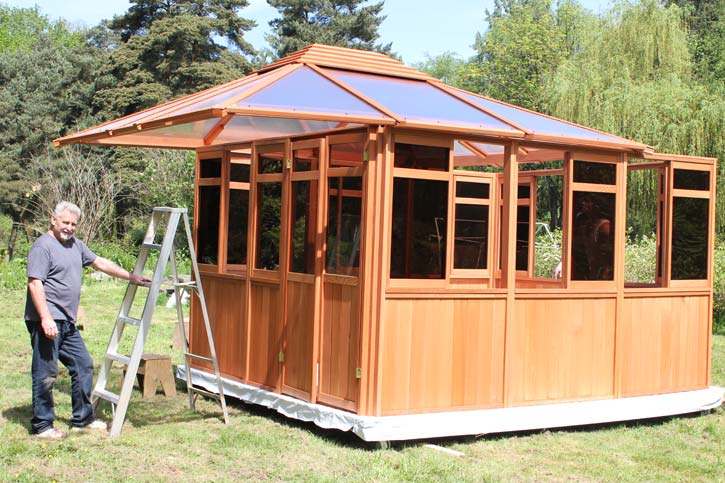
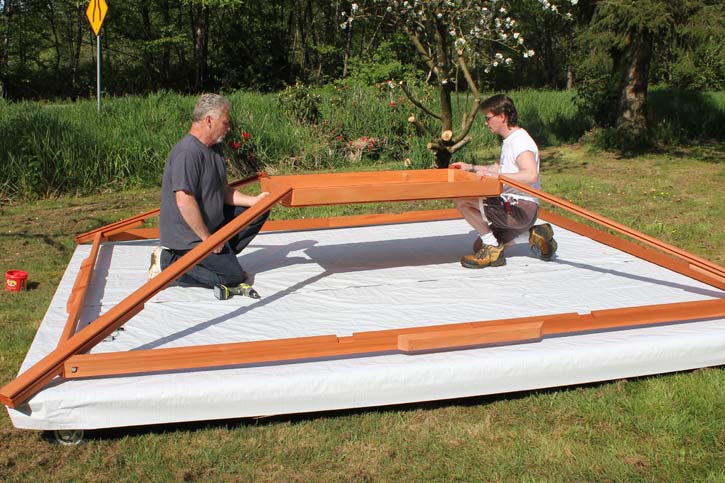
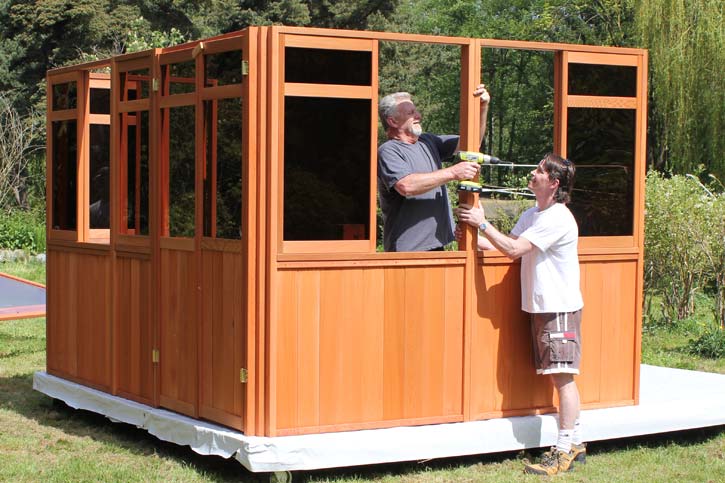
21. Raise the roof on to the top of the gazebo body. This may take 2 or 3 persons to raise the roof comfortably.
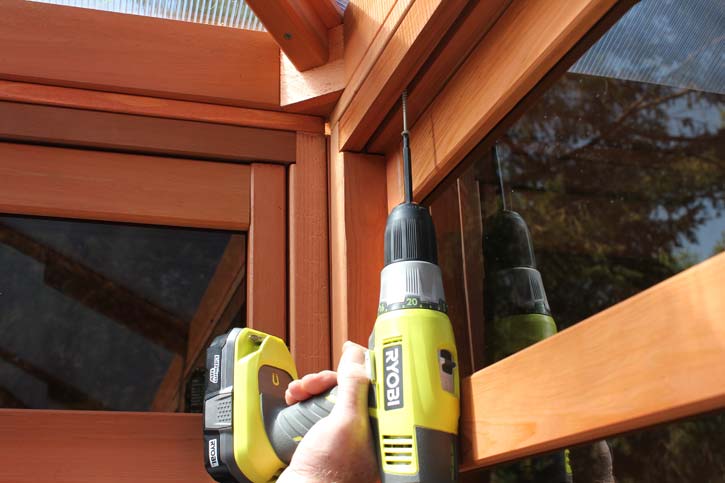
22. The gazebo roof is automatically squared. At this point you may need to slightly shift your walls so that the inside top edge of the gazebo walls are flush with the top inside edge of the roof frame. Start securing the roof by screwing from the walls upward.

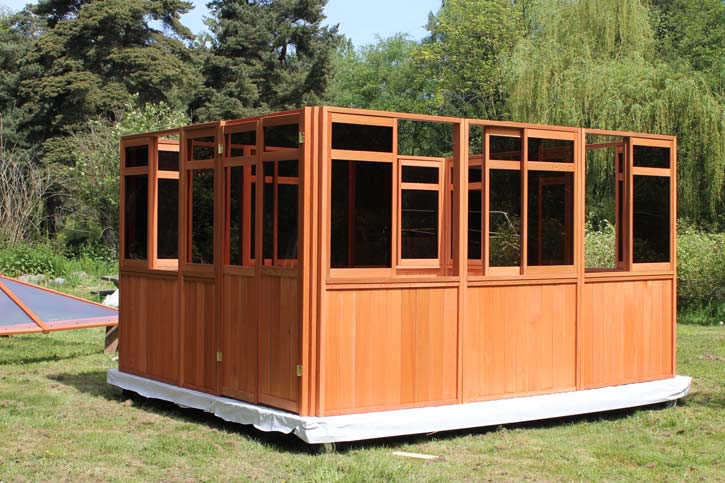
23. Continue around the inside top perimeter of the walls until the entire roof is securely fastened.
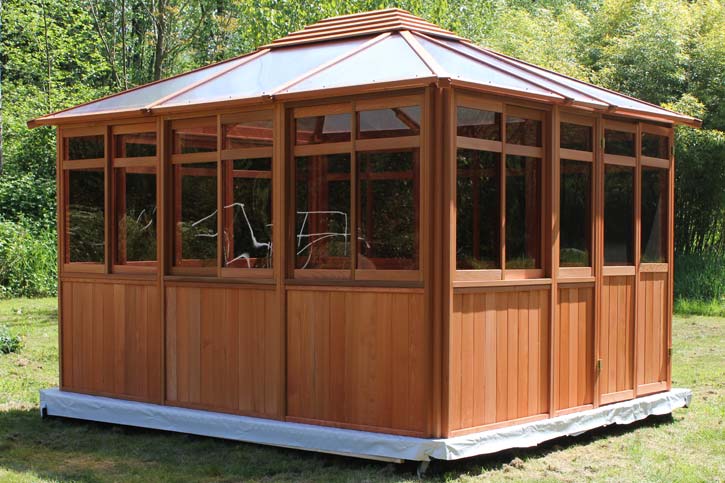
24. Enjoy your completed gazebo.